ARTICLES
A Fun Soba-Making Experience in Shintoku, the Home of Soba! A Report from Shintoku Soba no Yakata


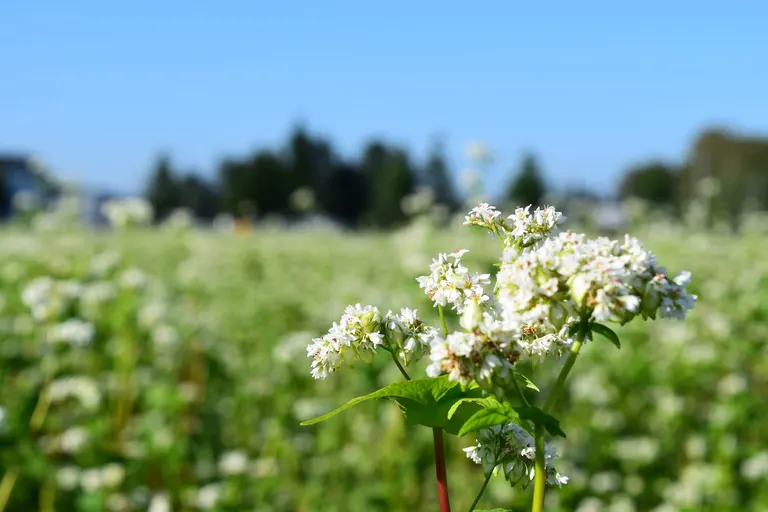
At the end of summer, under a cloudless blue sky, the fields are in full bloom. These are the flowers of the buckwheat plant, a specialty of Shintoku Town.
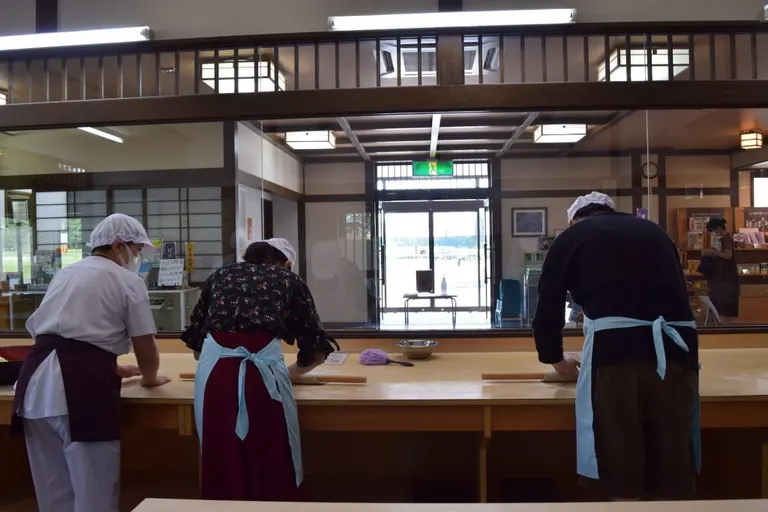
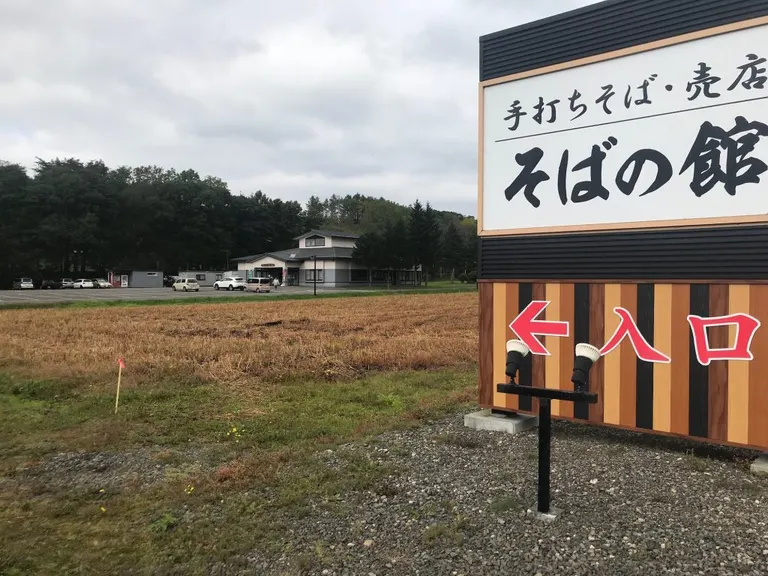
 Surrounded by vast buckwheat fields, I visited the Hand-making Soba Workshop at "Shintoku Soba no Yakata" to try my hand at making soba noodles!
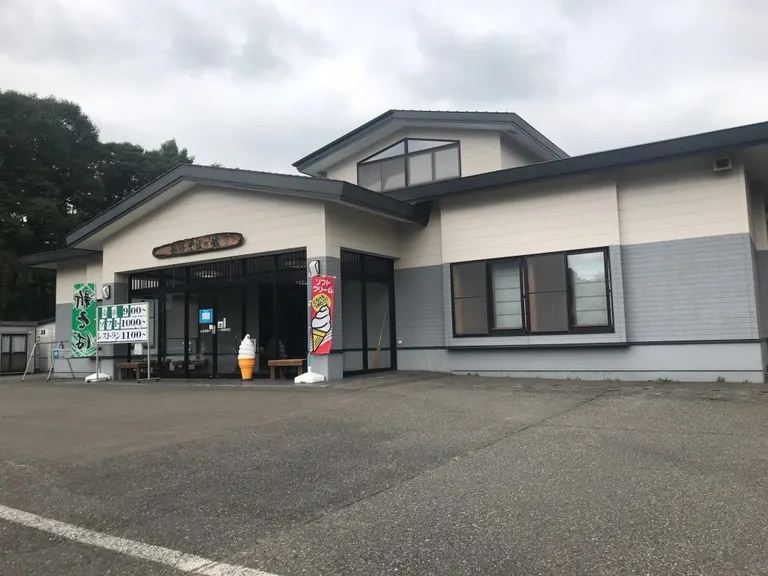 This place, Shintoku Soba no Yakata, is a real treat, as it has an adjoining soba restaurant where you can enjoy your freshly made noodles, boiled right on the spot.
What's more, Shintoku Town is currently running the "Shittoku-wari" discount campaign for Hokkaido residents, making this soba-making experience even more affordable.
※For details, please visit the Shintoku Town Tourism Association website.
With my stomach rumbling in anticipation of eating my own handmade soba, the experience began!
Our instructor for the day was Mr. Hojo, a master craftsman. He not only makes the soba served at the bustling soba restaurant, which stays busy even after the lunch rush, but also expertly guides beginners like us.
Mr. Hojo, it's a pleasure to be learning from you!
The soba-making process is divided into three main steps.
① Making the soba dough
② Rolling out the soba dough
③ Cutting the soba noodles
Alright, let's get started!
The first thing that caught my eye upon entering the Hand-making Soba Workshop was the "stone mill flour machine," which transforms buckwheat seeds into flour.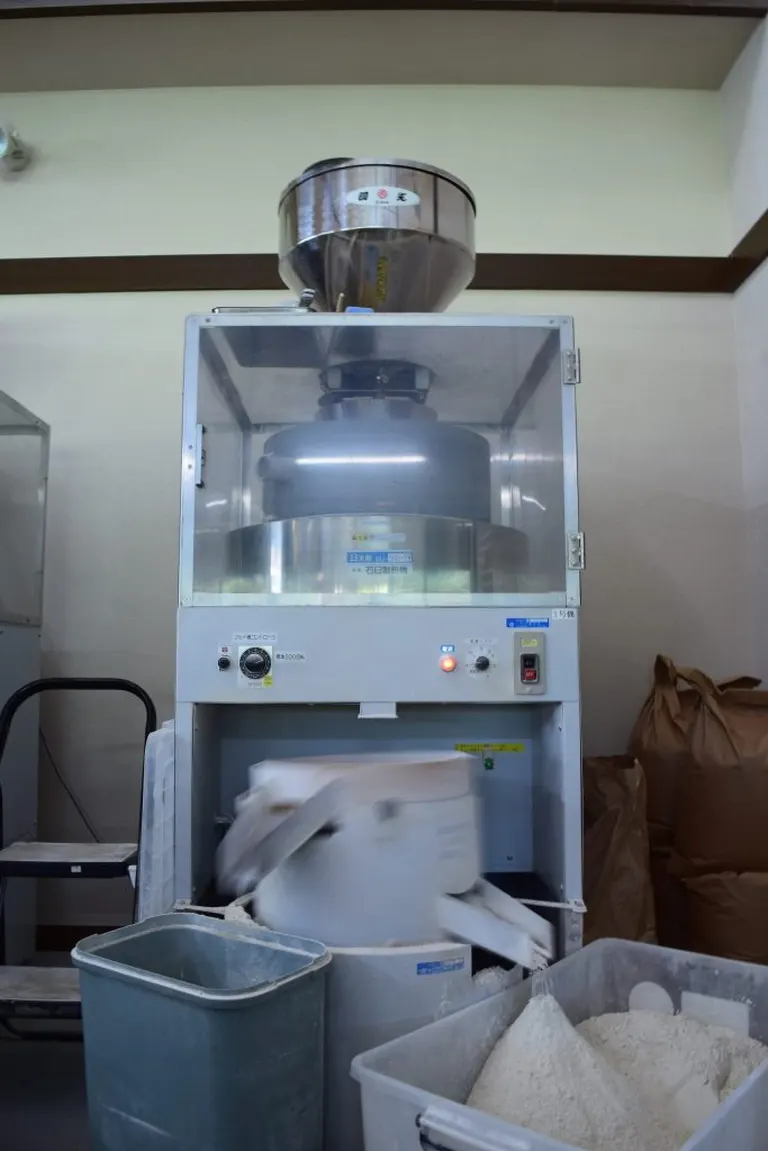 The seeds are ground in the stone mill at the top, and the flour is sifted through a high-speed vibrating sieve at the bottom.
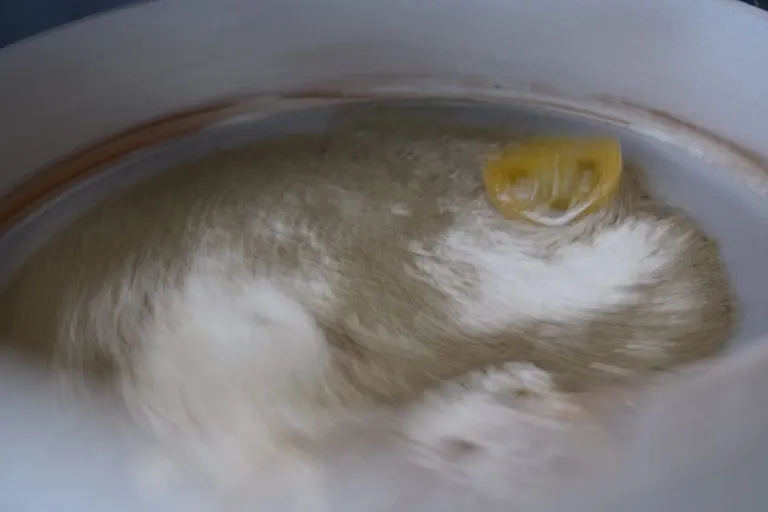 Shintoku Soba no Yakata only uses fine, white buckwheat flour, and this is apparently the only place in Shintoku where you can taste soba made with it.
The soba we're making today is "Hachi-wari soba," which uses a ratio of 8 parts stone-milled buckwheat flour to 2 parts binding flour. This ratio is said to be beginner-friendly and less prone to failure.
To avoid transferring body heat to the heat-sensitive buckwheat flour, you use your fingertips like a cat's paw, mixing the flour and adding water. We swirled our hands in circles to combine the flour and water...
The speed and skill in this step greatly affect the taste of the soba. And since we were all kneading our own dough, everyone's hands were full.
With our fingertips covered in flour, the atmosphere in the workshop was one of tense concentration...
I was so focused that I forgot to take pictures.
The flour and water gradually form small clumps. These small clumps get bigger and bigger until they finally come together as one. At this point, the dough is still airy and porous inside.
Next comes the "Kiku-neri" (chrysanthemum kneading) process, where you push the dough with the ball of your dominant thumb while supporting it with your other hand. This connects the flour and water, bringing it all together into a solid mass.
Personally, I found this "Kiku-neri" step to be the most difficult...
After that, we used the palms of our hands to shape the dough into a cone, like a bamboo shoot.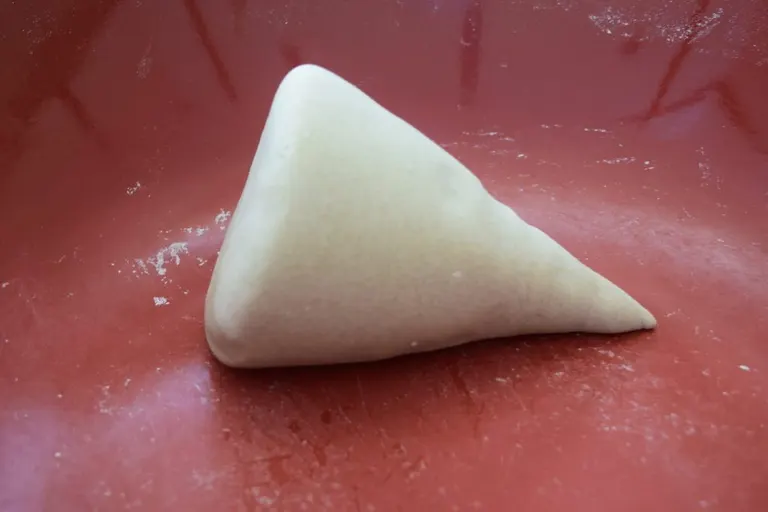 This shape apparently makes it easier to roll the dough out evenly.
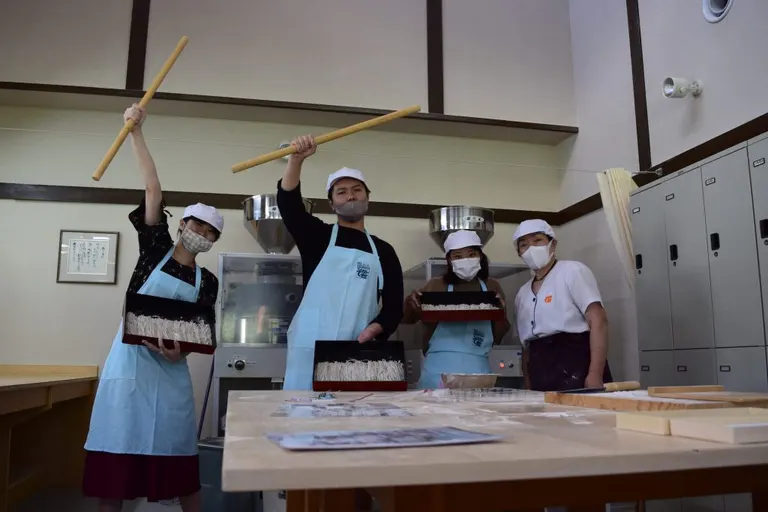
"Everyone, line up with your dough!" Mr. Hojo called out, and took a commemorative photo for us!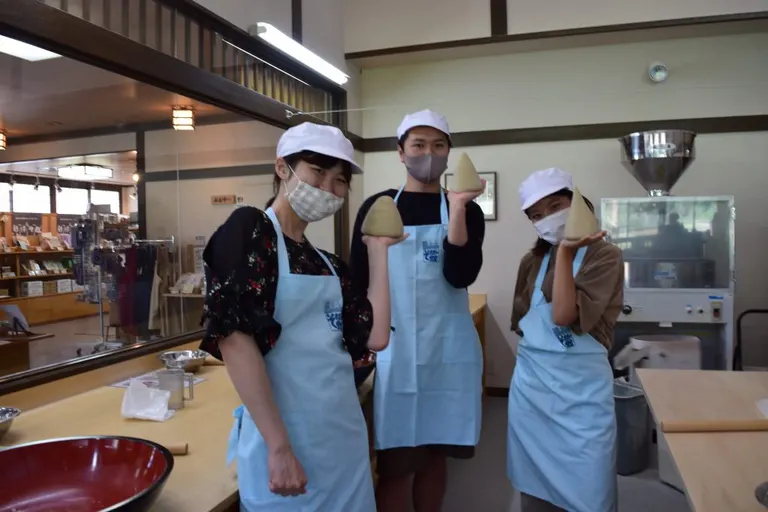
We placed the pointed end of the dough down and used a rolling pin to roll it out into a perfect circle, rotating the dough as we went.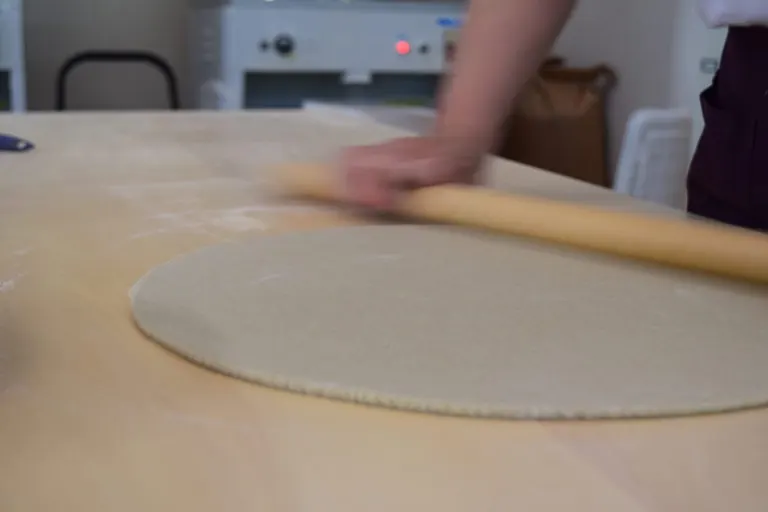 Once it was a perfect circle, we wrapped it around the rolling pin and gently applied pressure while rolling to aim for a perfect square.
The key here is to apply consistent pressure to ensure the dough has a uniform thickness. It's a very delicate and crucial step.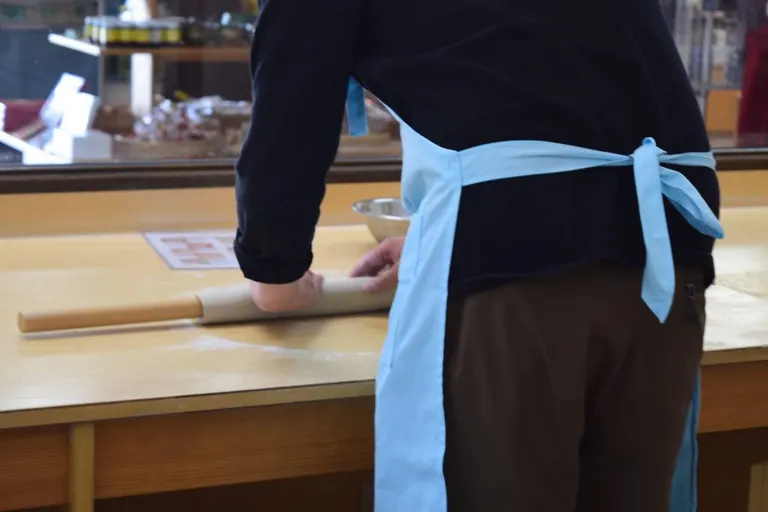
Finally, the last step: cutting the noodles.
Mr. Hojo carefully taught us how to hold the knife and support the koma-ita (cutting guide), so we felt at ease.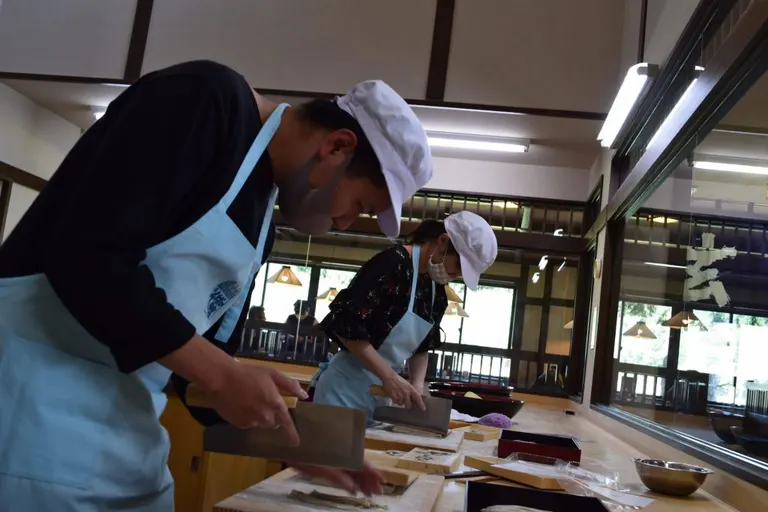 Even though cutting the noodles to a uniform thickness with an unfamiliar large knife is challenging, this final transformation into soba is incredibly fun.
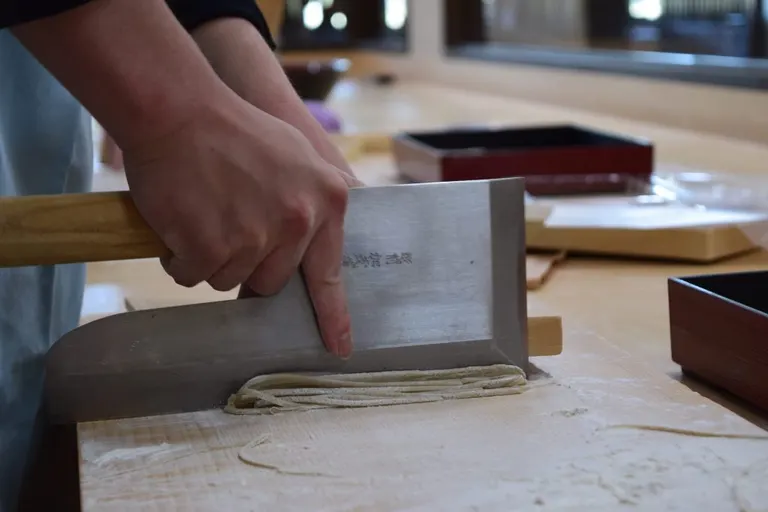 After finishing the cutting process and arranging the noodles, I was struck by their beauty.
As I admired the uneven noodles I had shaped with my own hands, a sense of attachment and appetite began to well up inside me!
The whole process took about an hour. It was a very rich and rewarding time.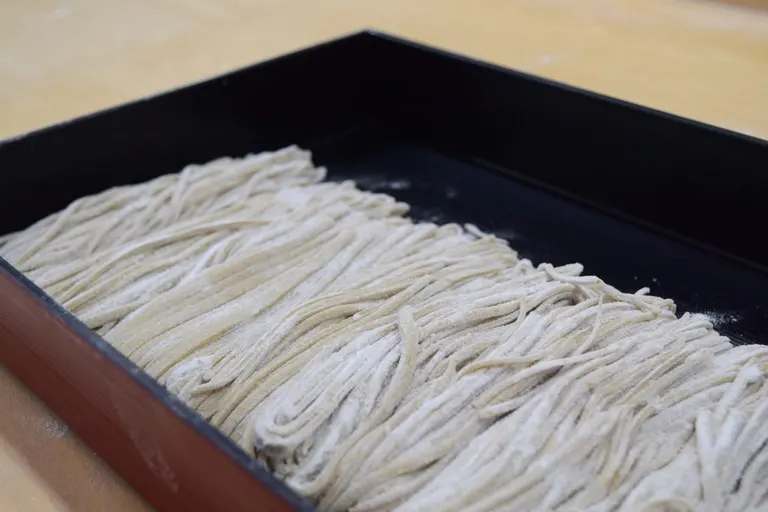
Finally, the long-awaited moment to eat has arrived!
What a luxury to be able to eat as much of your freshly made soba as you want. (You can take the leftovers home.)
You can add toppings, and this time I chose tempura!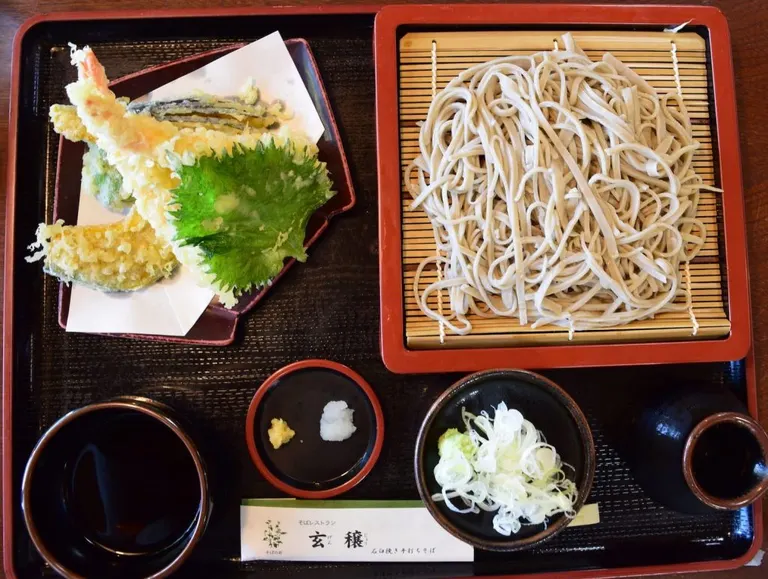 The freshly made soba has a wonderful aroma and is so smooth you could eat it endlessly. Knowing how it's made and having made it yourself makes it taste exceptionally special.
We had a wonderful time showing each other our uneven noodles and laughing as we ate.
Thank you to everyone at Shintoku Soba no Yakata for such a fulfilling time and delicious soba!
This was a report on the soba-making experience at "Shintoku Soba no Yakata"!
This soba-making experience is available year-round, regardless of the season, so be sure to try it for yourself in Shintoku, the home of soba!
 Reservations and confirmation by phone are required at least three days in advance.
For details, please check the Shintoku Soba Honpo Direct Sales Division website!
Surrounded by vast buckwheat fields, I visited the Hand-making Soba Workshop at "Shintoku Soba no Yakata" to try my hand at making soba noodles!This place, Shintoku Soba no Yakata, is a real treat, as it has an adjoining soba restaurant where you can enjoy your freshly made noodles, boiled right on the spot.What's more, Shintoku Town is currently running the "Shittoku-wari" discount campaign for Hokkaido residents, making this soba-making experience even more affordable.
※For details, please visit the Shintoku Town Tourism Association website.
With my stomach rumbling in anticipation of eating my own handmade soba, the experience began!
Our instructor for the day was Mr. Hojo, a master craftsman. He not only makes the soba served at the bustling soba restaurant, which stays busy even after the lunch rush, but also expertly guides beginners like us.
Mr. Hojo, it's a pleasure to be learning from you!
The Soba-Making Process
The soba-making process is divided into three main steps.
① Making the soba dough
② Rolling out the soba dough
③ Cutting the soba noodles
Alright, let's get started!
① Making the soba dough
The first thing that caught my eye upon entering the Hand-making Soba Workshop was the "stone mill flour machine," which transforms buckwheat seeds into flour.
The seeds are ground in the stone mill at the top, and the flour is sifted through a high-speed vibrating sieve at the bottom.Shintoku Soba no Yakata only uses fine, white buckwheat flour, and this is apparently the only place in Shintoku where you can taste soba made with it.The soba we're making today is "Hachi-wari soba," which uses a ratio of 8 parts stone-milled buckwheat flour to 2 parts binding flour. This ratio is said to be beginner-friendly and less prone to failure.
To avoid transferring body heat to the heat-sensitive buckwheat flour, you use your fingertips like a cat's paw, mixing the flour and adding water. We swirled our hands in circles to combine the flour and water...
The speed and skill in this step greatly affect the taste of the soba. And since we were all kneading our own dough, everyone's hands were full.
With our fingertips covered in flour, the atmosphere in the workshop was one of tense concentration...
I was so focused that I forgot to take pictures.
The flour and water gradually form small clumps. These small clumps get bigger and bigger until they finally come together as one. At this point, the dough is still airy and porous inside.
Next comes the "Kiku-neri" (chrysanthemum kneading) process, where you push the dough with the ball of your dominant thumb while supporting it with your other hand. This connects the flour and water, bringing it all together into a solid mass.
Personally, I found this "Kiku-neri" step to be the most difficult...
After that, we used the palms of our hands to shape the dough into a cone, like a bamboo shoot.
This shape apparently makes it easier to roll the dough out evenly."Everyone, line up with your dough!" Mr. Hojo called out, and took a commemorative photo for us!
② Rolling out the soba dough
We placed the pointed end of the dough down and used a rolling pin to roll it out into a perfect circle, rotating the dough as we went.
Once it was a perfect circle, we wrapped it around the rolling pin and gently applied pressure while rolling to aim for a perfect square.The key here is to apply consistent pressure to ensure the dough has a uniform thickness. It's a very delicate and crucial step.
③ Cutting the soba noodles
Finally, the last step: cutting the noodles.
Mr. Hojo carefully taught us how to hold the knife and support the koma-ita (cutting guide), so we felt at ease.
Even though cutting the noodles to a uniform thickness with an unfamiliar large knife is challenging, this final transformation into soba is incredibly fun.After finishing the cutting process and arranging the noodles, I was struck by their beauty.As I admired the uneven noodles I had shaped with my own hands, a sense of attachment and appetite began to well up inside me!
The whole process took about an hour. It was a very rich and rewarding time.
Time to eat!
Finally, the long-awaited moment to eat has arrived!
What a luxury to be able to eat as much of your freshly made soba as you want. (You can take the leftovers home.)
You can add toppings, and this time I chose tempura!
The freshly made soba has a wonderful aroma and is so smooth you could eat it endlessly. Knowing how it's made and having made it yourself makes it taste exceptionally special.We had a wonderful time showing each other our uneven noodles and laughing as we ate.
Thank you to everyone at Shintoku Soba no Yakata for such a fulfilling time and delicious soba!
Conclusion
This was a report on the soba-making experience at "Shintoku Soba no Yakata"!
This soba-making experience is available year-round, regardless of the season, so be sure to try it for yourself in Shintoku, the home of soba!
Reservations and confirmation by phone are required at least three days in advance.For details, please check the Shintoku Soba Honpo Direct Sales Division website!